This blog post contains affiliate links. If you click my custom link to buy a product, I earn a commission at no extra cost to you. WIN!
The notorious BMW acceleration grind
Does your BMW make a grinding or rattling noise while accelerating? This was a widespread issue that plagued many BMW models from around 2012-2018. These include the 2 Series, 3 Series, 4 Series, M3, M4 and many others. Luckily it’s a simple fix, although it’s a bit of work to get to the part.
Parking brake cables hanging down, touching driveshaft.
Your BMW’s parking brake cables are held to the bottom of your car with a cheaply made plastic retainer clip (BMW part # 34406854898). Over time, the plastic clip becomes brittle and breaks, allowing the cables to hang down and touch the driveshaft and make a horrible noise when you accelerate.
At first, it will only happen under hard acceleration. Over time, gravity pulls the cables down and they will be in constant contact with the driveshaft.
AGA Tools now sells an all aluminum replacement that should last the life of your car. The part itself is not difficult to replace, but it’s in a tight space under the car with a few things in the way.
Forum users have reported dealerships quoting anywhere from $700-1,300 for this job. If you have the tools and are physically able to work under your car, you’ll save a ton of money if you can DIY this one.
TOOLS REQUIRED
Tube light (optional/ helpful)
BMW 3 Series & 4 Series PArking brake Cable retainer clip replacement Guide
Step 1: Jack Up Car from the rear and support it with jack stands. I like to lift from the rear subframe.
Step 2: Unplug the wiring harness from the exhaust valve controller.
Step 3: Remove six T45 bolts to remove the exhaust support brace.
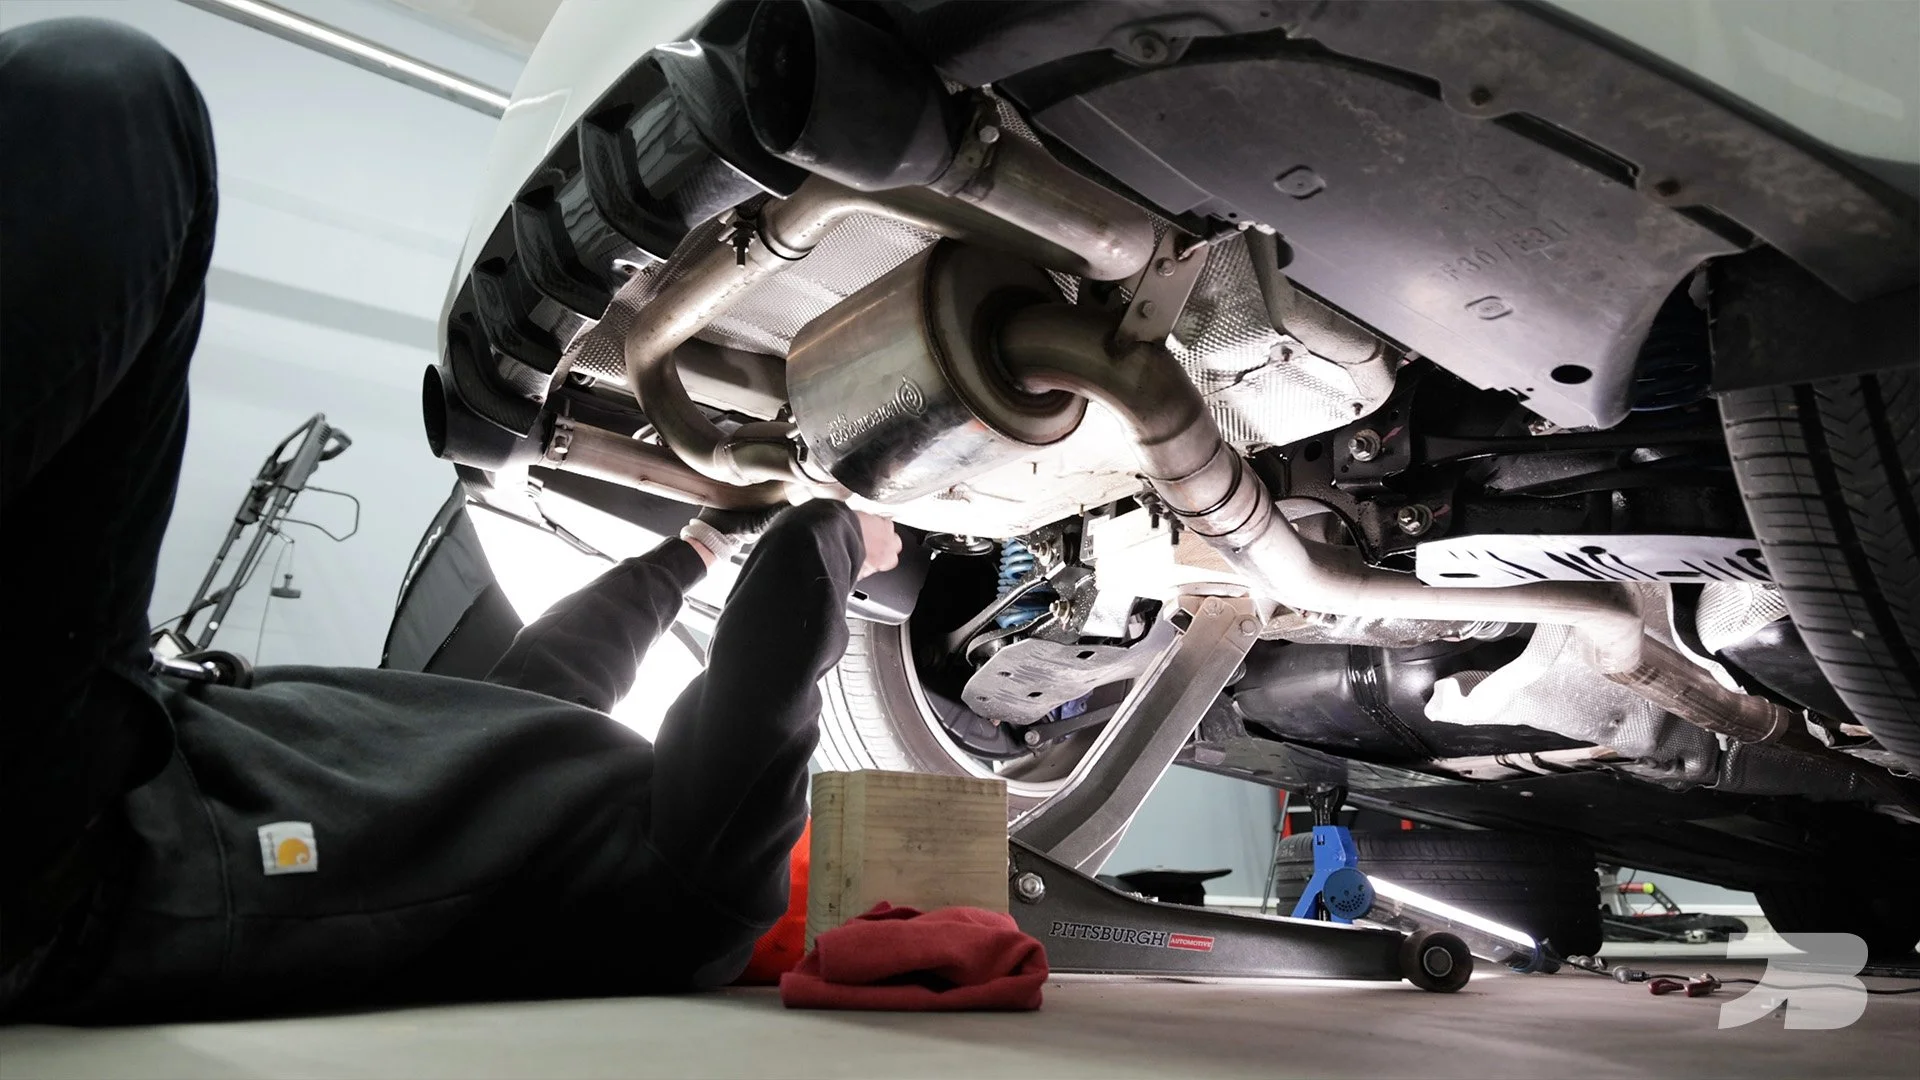
Step 4: Remove two 13mm nuts from the exhaust hangers to lower the exhaust. Support the exhaust with one hand while removing the second nut and be ready for it to drop down. I lowered mine onto a block of wood to keep it off the ground.
Step 5: Remove about a dozen 10mm nuts to remove the exhaust heat shield. The edges are sharp so I recommend wearing gloves. Be careful not to bend it out of shape while pulling it out.
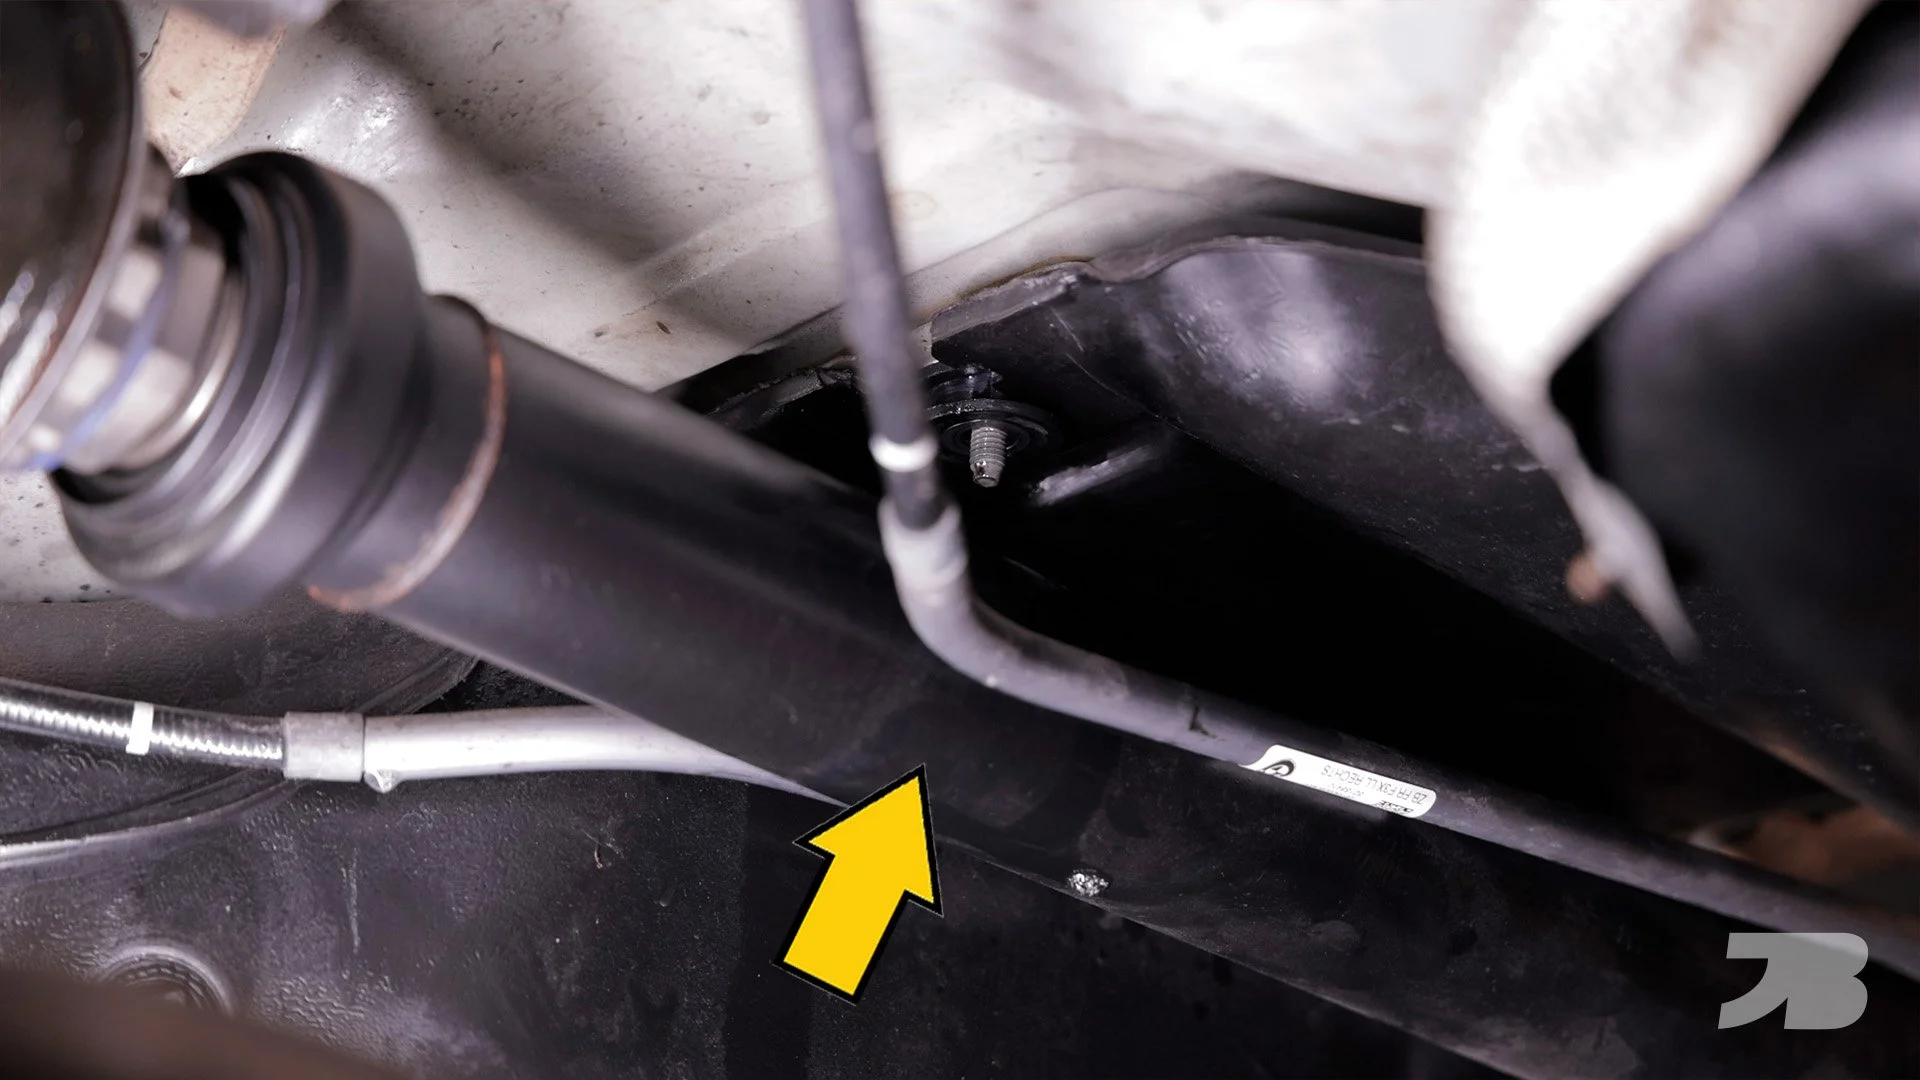
With the exhaust and heat shield out of the way, you’ll have a clear view of the retainer clip which is attached to the fuel tank, right above the driveshaft.
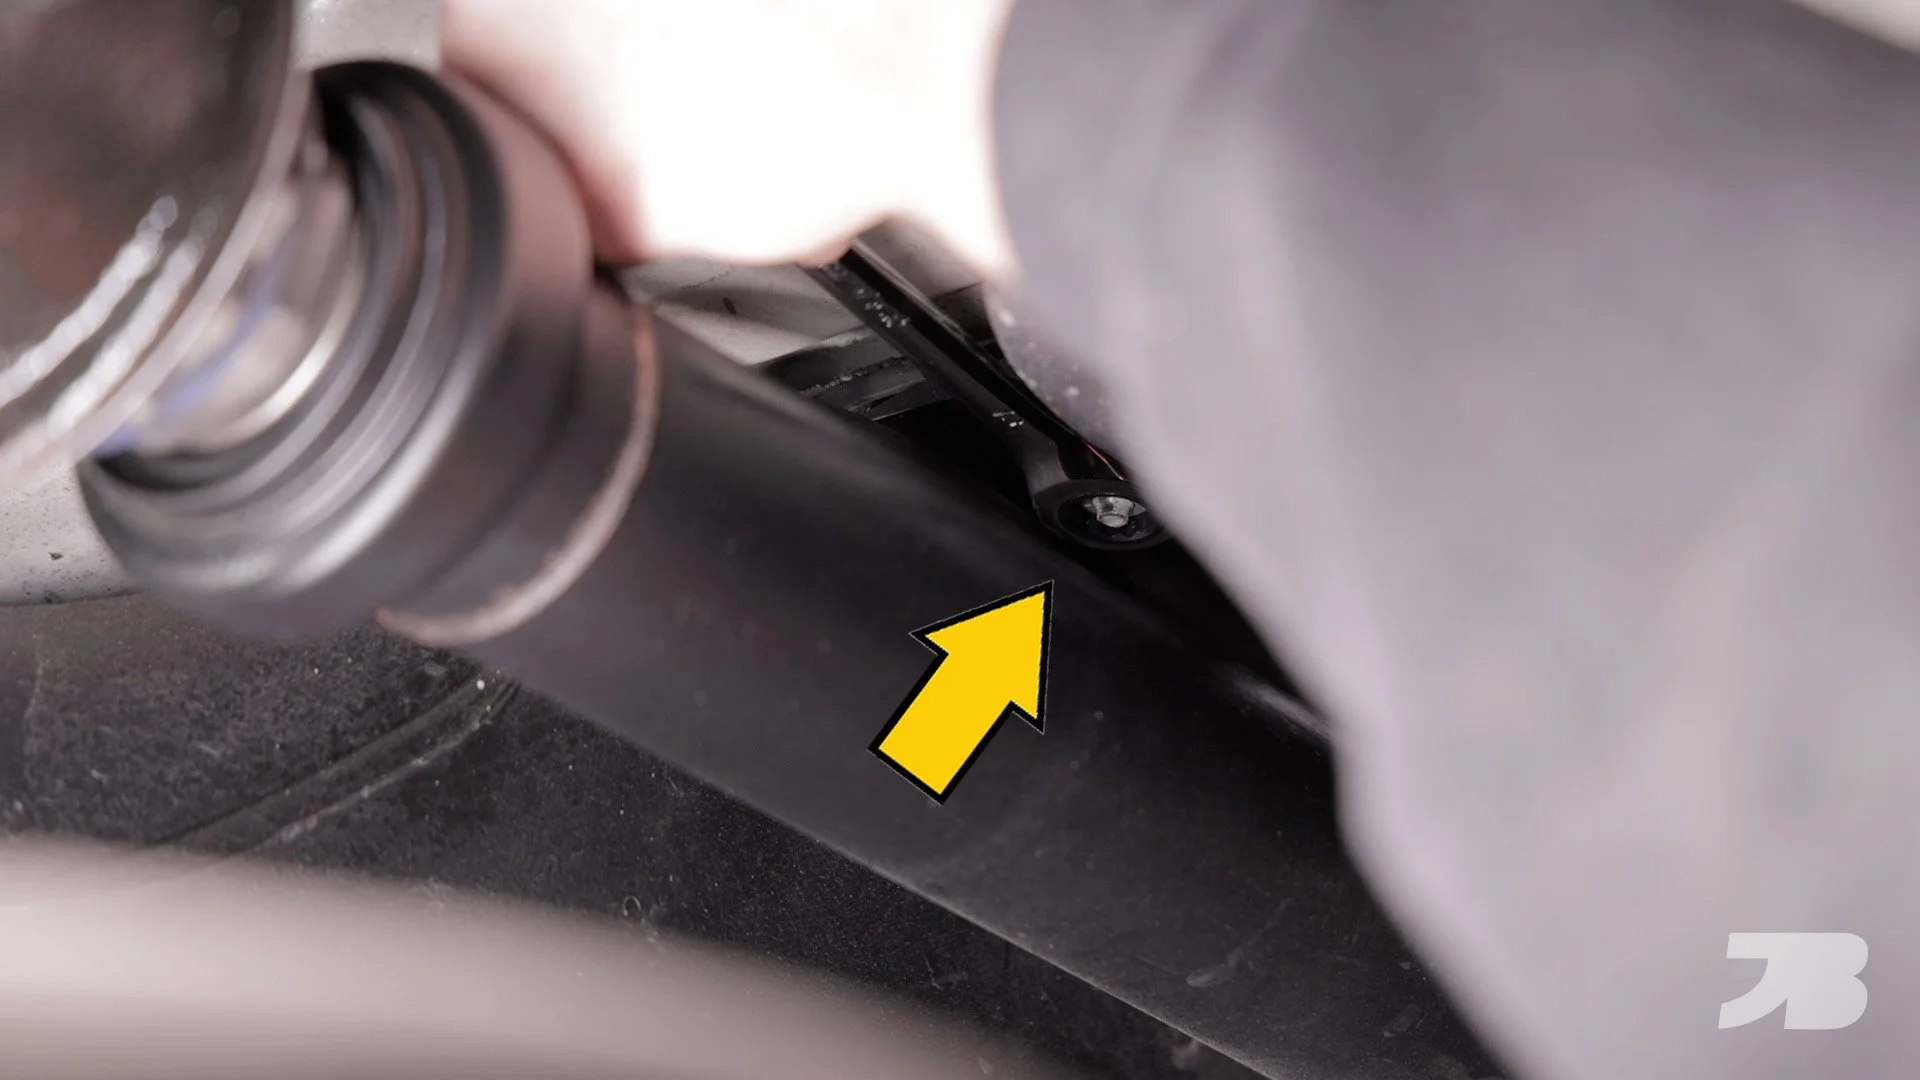
Step 6: Remove the 13mm nut from the factory clip. A ratcheting 13mm box wrench like this makes this a breeze.
Step 7: Spray silicone onto the rubber grommet, then use pliers to pull the plastic clip off the grommet. You may need to wiggle it back and forth to help the silicone penetrate. Be careful not to damage the grommet, as the new AGA clip re-uses the factory grommet.
Step 8: Install the top portion of the AGA retainer clip into the rubber grommet. The notch on top will fit into a groove in the fuel tank.
Step 9: Install the rubber insulators included in the kit around the parking brake cables, then install the bottom portion of the clip with the retainers facing forward. Secure it in place with the 13mm nut provided in the kit. AGA recommends spraying both the insulators and the inside of the retainers with silicone spray.
I had trouble getting the nut to thread on due to the thickness of the rubber insulators, but with patience and some elbow grease, I was finally able to get it to thread.
Re-assembly: Re-assemble everything in reverse order. Install the heat shield, lift the exhaust back up and secure the hangers. Install the exhaust plate and plug in the valve controller.
Conclusion:
At $130, this clip is expensive for what it is. But if you’re able to install it yourself, you will still save a ton of money over the dealership replacing your broken clip with another crappy plastic one. The aluminum clip offers peace of mind that you will never have to deal with this issue again.
BMW Parking brake retainer clip replacement video
*This blog contains affiliate links. If you click my custom link to purchase a product, I earn a small commission at no extra cost to you.


